Avoid These Common Floor Stripping Mistakes
Floor stripping is one of the most labor-intensive and time-consuming tasks in facility maintenance. When done properly, it lays the foundation for an attractive, well-protected floor finish. However, even seasoned professionals can fall into common pitfalls that lead to wasted time, additional labor, or unsatisfactory results. Understanding these mistakes and how to avoid them is critical to getting the job done right the first time.

1. Skipping Safety Precautions
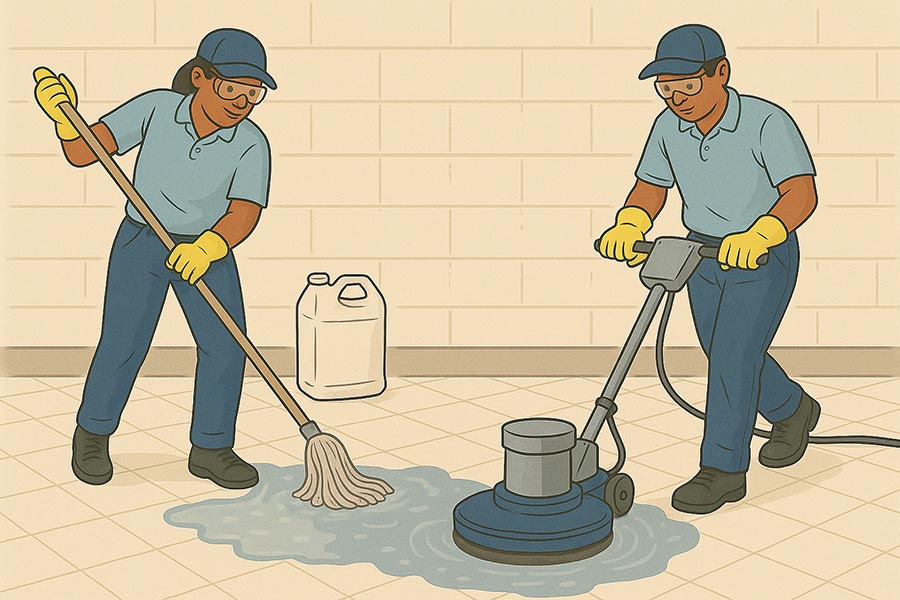
Before any stripping work begins, make safety your first priority. Post wet floor signs to alert others to potential slip hazards. Use non-slip footwear or dedicated stripper safety slippers to reduce the risk of falls. When mixing chemicals, always wear gloves and safety glasses to protect against splashes and exposure.
2. Incorrect Dilution of Stripper Solution
One of the most avoidable errors is not following the manufacturer’s dilution guidelines. Using a stripper that is too strong can damage certain floor types, while a weak solution may be ineffective. Pay attention to both dilution ratios and recommended water temperature to get the best results from your floor stripper.
3. Letting Stripping Solution Dry on the Floor
Stripping solution should never be allowed to dry on the floor. Once it dries, the old finish can become more difficult to remove than before, often requiring repeated applications and unnecessary labor. Prevent this by working in smaller areas and monitoring drying time closely.
4. Using an Overly Aggressive Stripper
Not all floors can handle high-strength stripping chemicals. While VCT and stone flooring are generally durable, surfaces like asphalt or asbestos tile are more sensitive. Always verify the floor type and choose a stripper suited to the material to avoid permanent damage.
5. Tackling Too Large of an Area at Once
Trying to strip a large section in one go is a common time management error. The stripping solution may dry prematurely or become less effective if it sits too long. Focus on manageable sections of 150 to 300 square feet to maintain control and consistency.
6. Not Allowing for Proper Dwell Time
Stripping solutions need time to work. Following the recommended dwell time gives the product a chance to break down finish polymers properly, making removal easier and more complete. Rushing this step can result in uneven stripping and extra work later.
Set Your Team Up for Success
Floor stripping is hard enough without setbacks from avoidable mistakes. By training your staff to follow product instructions, use proper protective equipment, and pace the job thoughtfully, you’ll save time, reduce risk, and produce consistently better results. For additional support or product recommendations, consult with your local Hillyard representative or technical services team.
For a deep dive into the right procedure, check out our Best Practice Floor Stripping Guide. This procedure takes you through the entire process and covers how to maximize your productivity.
How Hillyard Can Help
Hillyard offers a full range of floor care solutions designed to simplify the floor stripping process—from high-performance strippers to application tools and safety gear. Our technical support team can help you select the right products for your specific floor type and conditions. Whether you’re updating your floor care program or training new staff, Hillyard is your partner in achieving professional results efficiently and safely.
Frequently Asked Questions
What is the recommended dwell time for floor stripper?
Always refer to the product label, but a typical dwell time ranges from 5 to 10 minutes. This allows the chemical to soften and break down the finish before scrubbing or vacuuming.
Can I use the same stripper on all floor types?
No. Some floors like VCT can handle aggressive strippers, while others such as rubber, asphalt, or terrazzo may require milder formulations. Always check the floor type and stripper compatibility.
How do I know when the finish has been fully removed?
After scrubbing and rinsing, the floor should appear dull and uniform in color with no glossy patches. If any shine remains, repeat the stripping process in those areas.